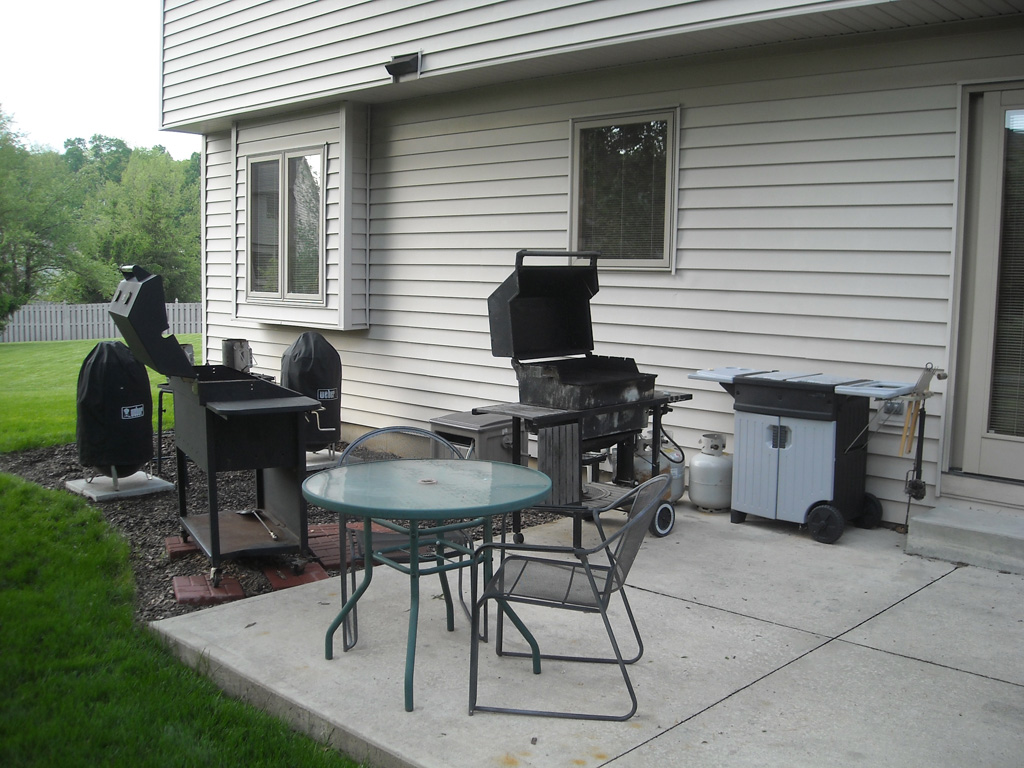
Here are some pics of my backyard and the various grills/smokers I use. Currently I have a Weber gasser, 2 Weber Smoky Mountains and a Brinkmann Professional charcoal grill. They all serve their purpose and are used for a specific type of cooking.
I also use a Dutch Oven table and the BBQ Cart. Along with my 10′ X 10′ pop-up shelter, this set up allows me to cook for up to 50 people and I can haul it all in a 8′ X 6′ enclosed trailer.
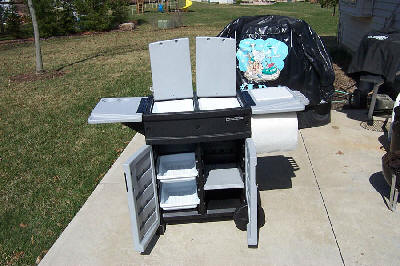
Above is the very versatile BBQ cart. I got this one at WalMart on a year-end closeout for only $40!!
MORE RIBS!
OK, so you are having a party and you want to cook several racks of ribs. How to do it with the WSM. The biggest drawback of the WSM is the width..it is only about 19″ in diameter. Most racks of loin back ribs will measure between 21-22″ so that means they are just too long for the WSM. Let me show you the way………
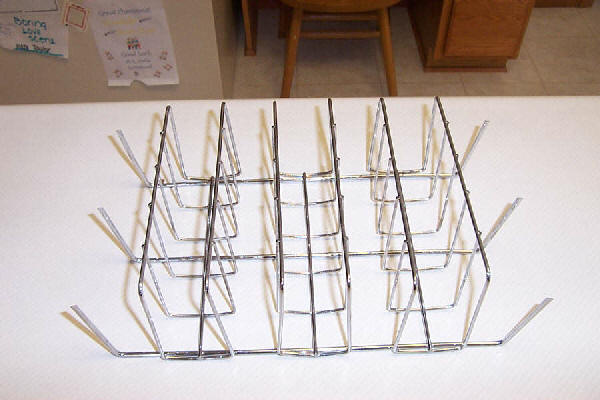
This is a CharBroil rib rack. I got this at Lowe’s for about $6-7. Using this handy device I can fit 10 racks!! Yes, you read right….10 racks!!


These are 1/2 racks of loin backs from Sam’s Club. You can fit 7 in the rack itself. Then you can place 2 more on each side and 1 laid across the top. That is 10, 1/2 racks which is 5 full racks of ribs. You can duplicate this on the bottom rack.
This is what it looks like in the WSM……..

Now, I will be the first to admit the process of smoking these can be a real pain! Why??? To properly cook these things they must be rotated. The side racks and the top rack will get more heat than the middle racks. So, about 2 hours in I switch everything around. Which way to switch? Just get the innermost racks to the outer most positions and let them cook for the next hour.
When it is time to foil, I then rotate the bottom ribs to the top and vice versa. If you do not foil, switch again after a couple more hours.
A little extra work? YES!! But I have done over a hundred of these catering events and I have done them all, by myself! So, it can be done. PLUS….and this is an ongoing mission for me…I like to show off a bit! Imagine feeding a large crowd in 2 little WSM’s and a grill for the chicken!
ADDITIONAL TOOLS
Below are some of the other essential pieces of equipment………
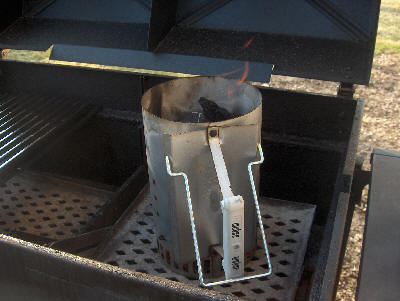
This is a charcoal chimney. It is used to start charcoal briquettes or lump charcoal. You can use either a piece of newspaper or little starter cubes. This eliminates the need for lighter fluid……which should be used in internal combustion engines, NOT to cook your food! Price…about $15.
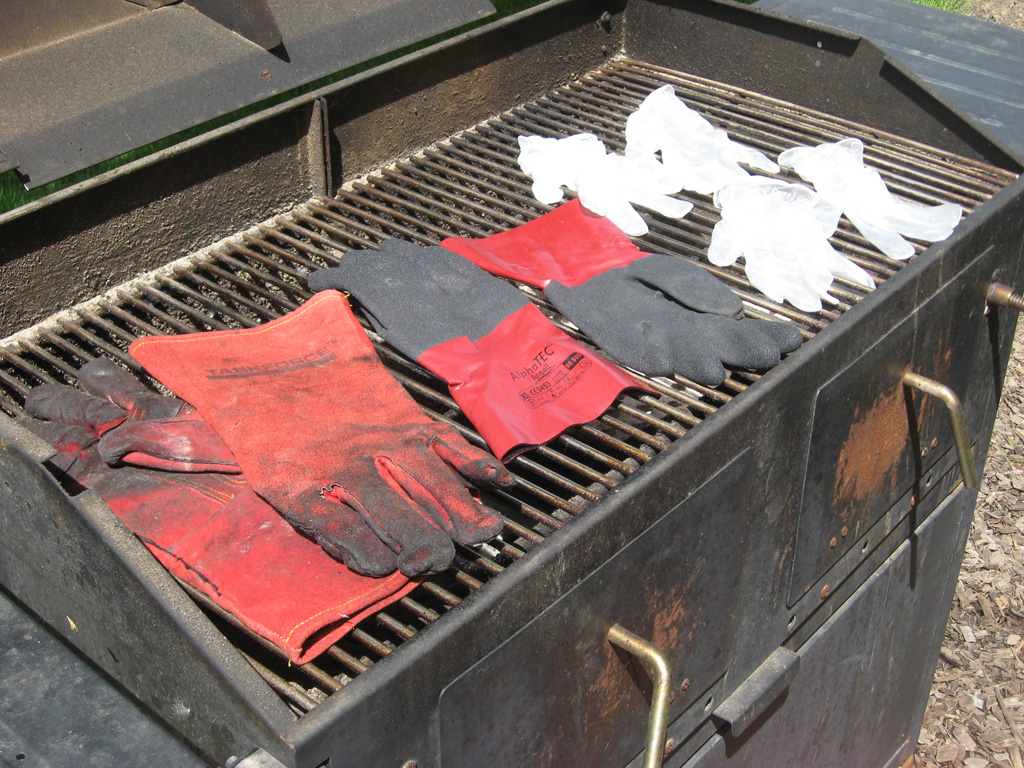
To handle those hot coals you will need some gloves. From the left….welders gloves for handling anything hot around the grill…including picking up wayward coals or hot grill grates. Price….about $15-20. Waterproof gloves to handle anything wet, like meat coming out of marinades or sauces or moving large roasts around the grill. They offer some protection from the heat, just enough to pick up a large roast hot off the grill. Price….about $15-25. Finally, disposal gloves which are also waterproof but not heat proof. I use these when handling chicken. Chicken is the most dangerous meat as far as germs, so I simply throw these away after handling my chicken. Price….$5-10 for lots of ’em.
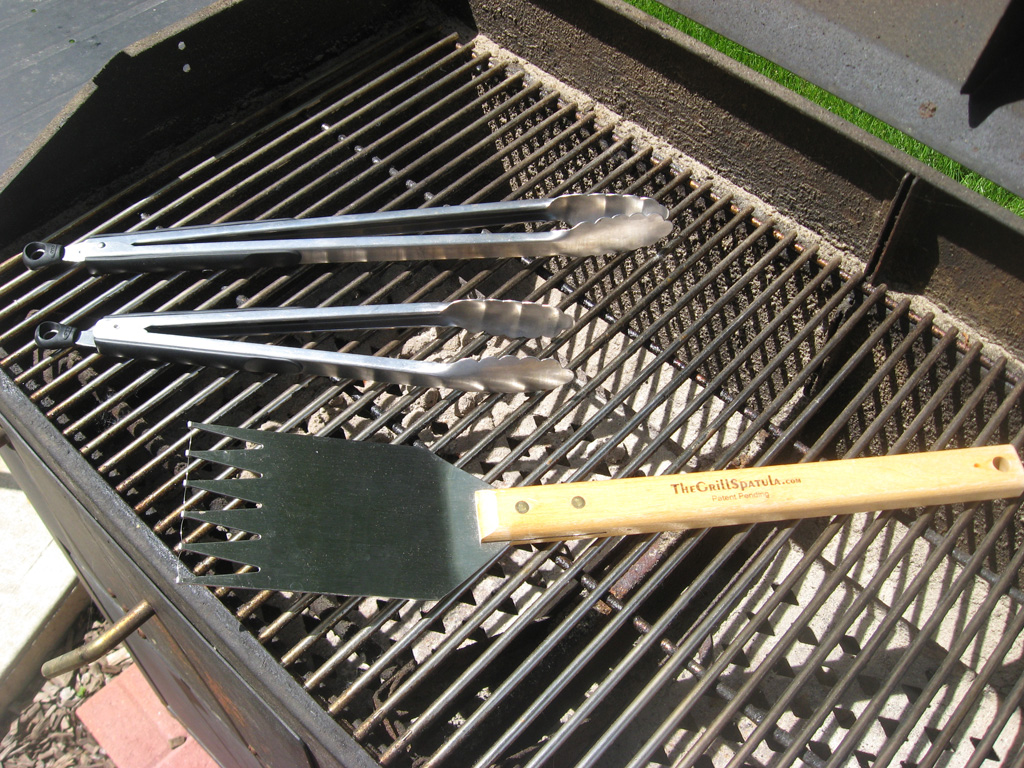
Above are tongs and a grill spatulas. Hopefully you know what these are for! I will tell you that I use these tongs for almost 75% of the lifting and turning on the grill.
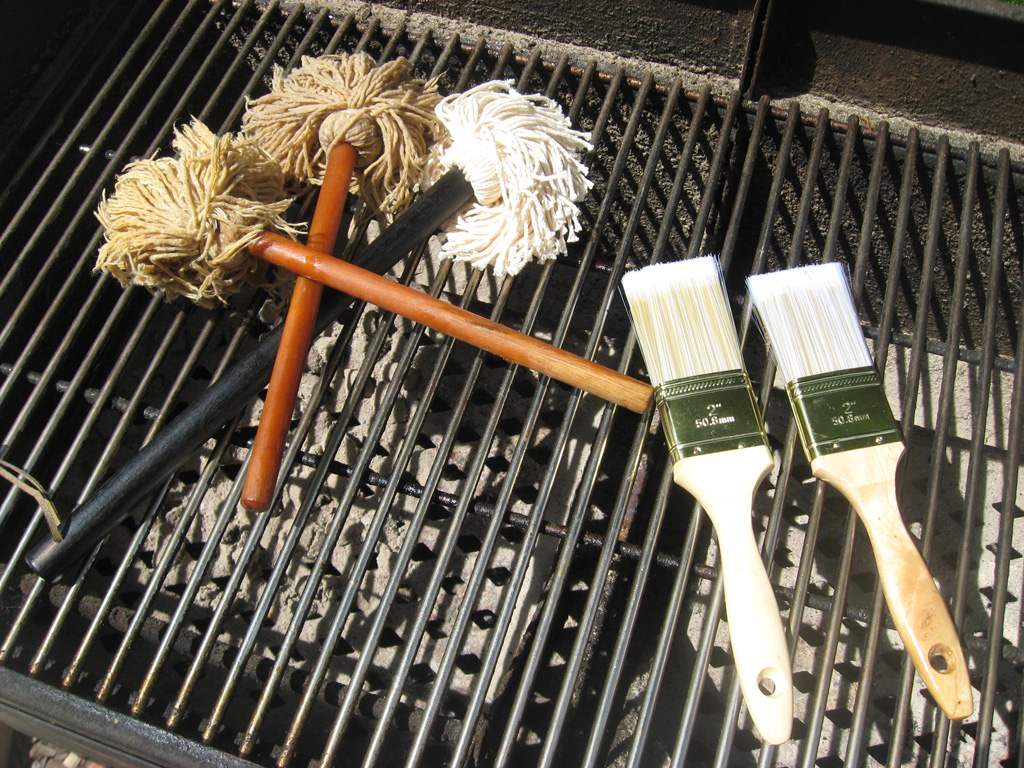
Mops and brushes for applying marinades and sauces. I use the mops when basting large roasts like briskets, ribs and pork butts. These basting sauces are much thinner in constitency than a finishing sauce or glaze. For those I use the paint brushes. Pictured are 2 new ones, I buy several new ones throughout the year. Why? You got a dollar store near by? ONE BUCK!! The mops can also be bought for pretty cheap but are much harder to find. Search the internet, I once found a site that sold them for a buck!
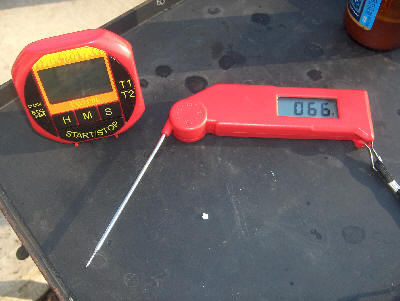
A timer which is handy for short cooks, like timing a steak or chicken, or just as effective on long cooks, like many hours when cooking ribs or pork butts. Price….about $10-15. Also pictured is a high-end digital instant read food thermometer. This is what many County Food Departments use when inspecting restaurants. It is very accurate and takes a temp in about 5 seconds. Price….about $80-90 (OK, OK…I bought it when I had a high-paying job!). You can find a quality instant read digital for much, much less.
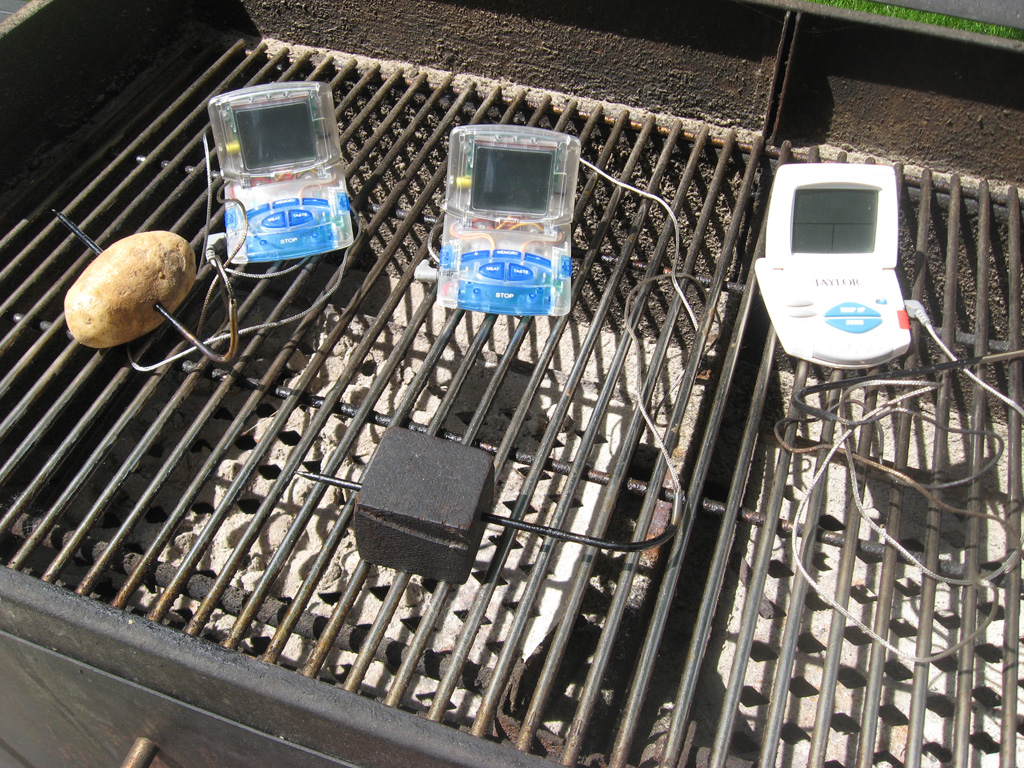
These are oven thermometers. They serve a dual purpose, measure the temperature of your cooker and measure the temp of your food. When measuring cooker temps, the idea is to have the probe as close to your meat as possible. This allows the most accurate reading of the TRUE heat of the cooker. Notice the potato and the wood block? They hold the probe up off the grill so as not to reflect the higher heat of the metal grate. To measure the temp in your food, simply stick the probe as near the middle of the meat as possible. I used to use these to measure temps in roasts….brisket, pork butt, etc. I use the more accurate instant reads on smaller cuts of meat. One word of warning….these can only handle temps BELOW 395º, so do not attempt to measure a hot grill with them. Price……$10-20.

1,025 thoughts on “BBQ Equipment”
Comments are closed.